Buying guide · a guide, not a sales page
The garage door installation process, step by step
From the first phone call to the door working, a garage door installation has seven steps. Knowing them in advance is the difference between a day you are waiting through and a day you understand.
The short answer
The installation process: the short answer
It goes: describe the opening, a measured visit and a written estimate, your approval, the door is ordered, the old door comes out, the new one goes in with its counterbalance set to the real weight, then testing and a walkthrough.
We do not publish how long any of it takes. Product lead times and the length of a visit are two different things, and neither is a promise we would make before seeing the opening.
On this page
- Before anybody comes out
- The measured visit and the estimate
- Ordering, and the wait nobody enjoys
- Installation day
- The walkthrough, and what you keep
- How to prepare for garage door installation day
- What has to be in place at the opening for the door to work
- What the final test covers on a new garage door and opener
- How long garage door installation takes
- How the old door’s springs change what the visit involves
- How an opener is matched to the door, and what that involves
- Sources
- Questions people ask
Before anybody comes out
You do not need a model number, a size or a line name. What helps is a description of the opening and the house, whether there is anything unusual above or behind the door, and what you want the door to do differently from the one you have.
A photograph of the closed door from the driveway, and one of the inside showing the track and the ceiling, answers most of the questions a technician would otherwise ask standing there.
If a car has to stay usable, or the garage is the only way into the house, say so on the call. Those facts shape the day more than most people expect.
The measured visit and the estimate
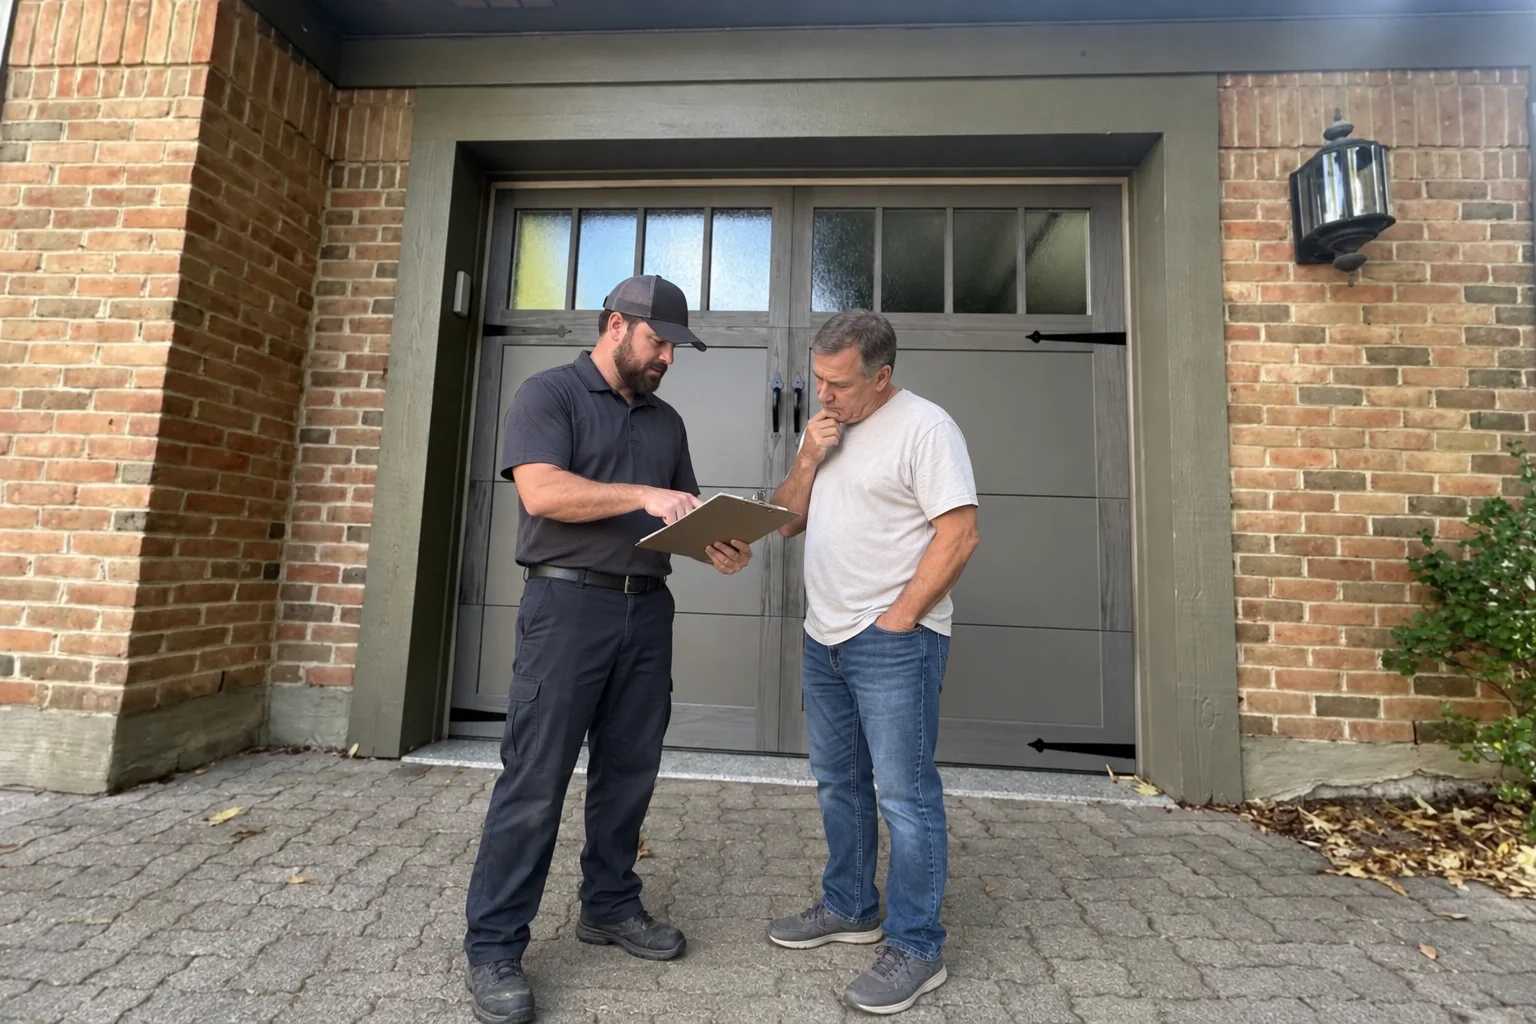
A technician measures the opening — width, height, headroom, backroom — and looks at the header, the jambs, the slab and what is already living on the ceiling. Then the options go on a written estimate, with what each one gets you.
- The door itself Family, construction, finish, windows, hardware.
- The counterbalance Specified against the finished weight of the real door, not the size of the opening.
- The track arrangement Standard lift, or high-lift where the ceiling and your use of the garage call for it.
- The opener Kept, or replaced, and sized to the door. A wall-mounted operator where the ceiling has to stay clear.
- What comes out Removing and disposing of the old door and hardware.
- Anything the opening needs Occasionally a jamb, a header detail or a floor issue has to be dealt with for the door to sit right.
Nothing is ordered until you approve that number, and the invoice matches what you approved. There is no charge for the visit or the estimate if you decide against it.
Free Estimates
5-Year Warranty on All Parts & Labor.Five years on parts and labor, every repair and every install. We look at the door with you first, and nothing starts until you approve the number.
Ordering, and the wait nobody enjoys
A garage door is made to the opening, in the color, construction and window layout you chose, so there is a wait between approval and installation. It varies by maker, by line and by what is happening in their factory that month, and we tell you what we are told rather than what you would like to hear.
A deposit may be required for special-order products or larger projects and will be shown in the written estimate before you approve the work. Most standard repairs are paid after completion.
If the door you have is unsafe rather than merely old, that is a different conversation and it does not wait on a factory. Say so, and it is handled as a repair while the new door is coming.
Installation day
- The old door comes out Springs are unwound under control first. This is the part of the day with the most stored energy in it.
- The opening is prepared Jambs, header and the fixings the new track and spring assembly will hang from.
- Sections go in from the bottom up Each one leveled, hinged and rollered as the stack grows.
- Track and hardware Vertical and horizontal track, brackets, struts where the door needs them.
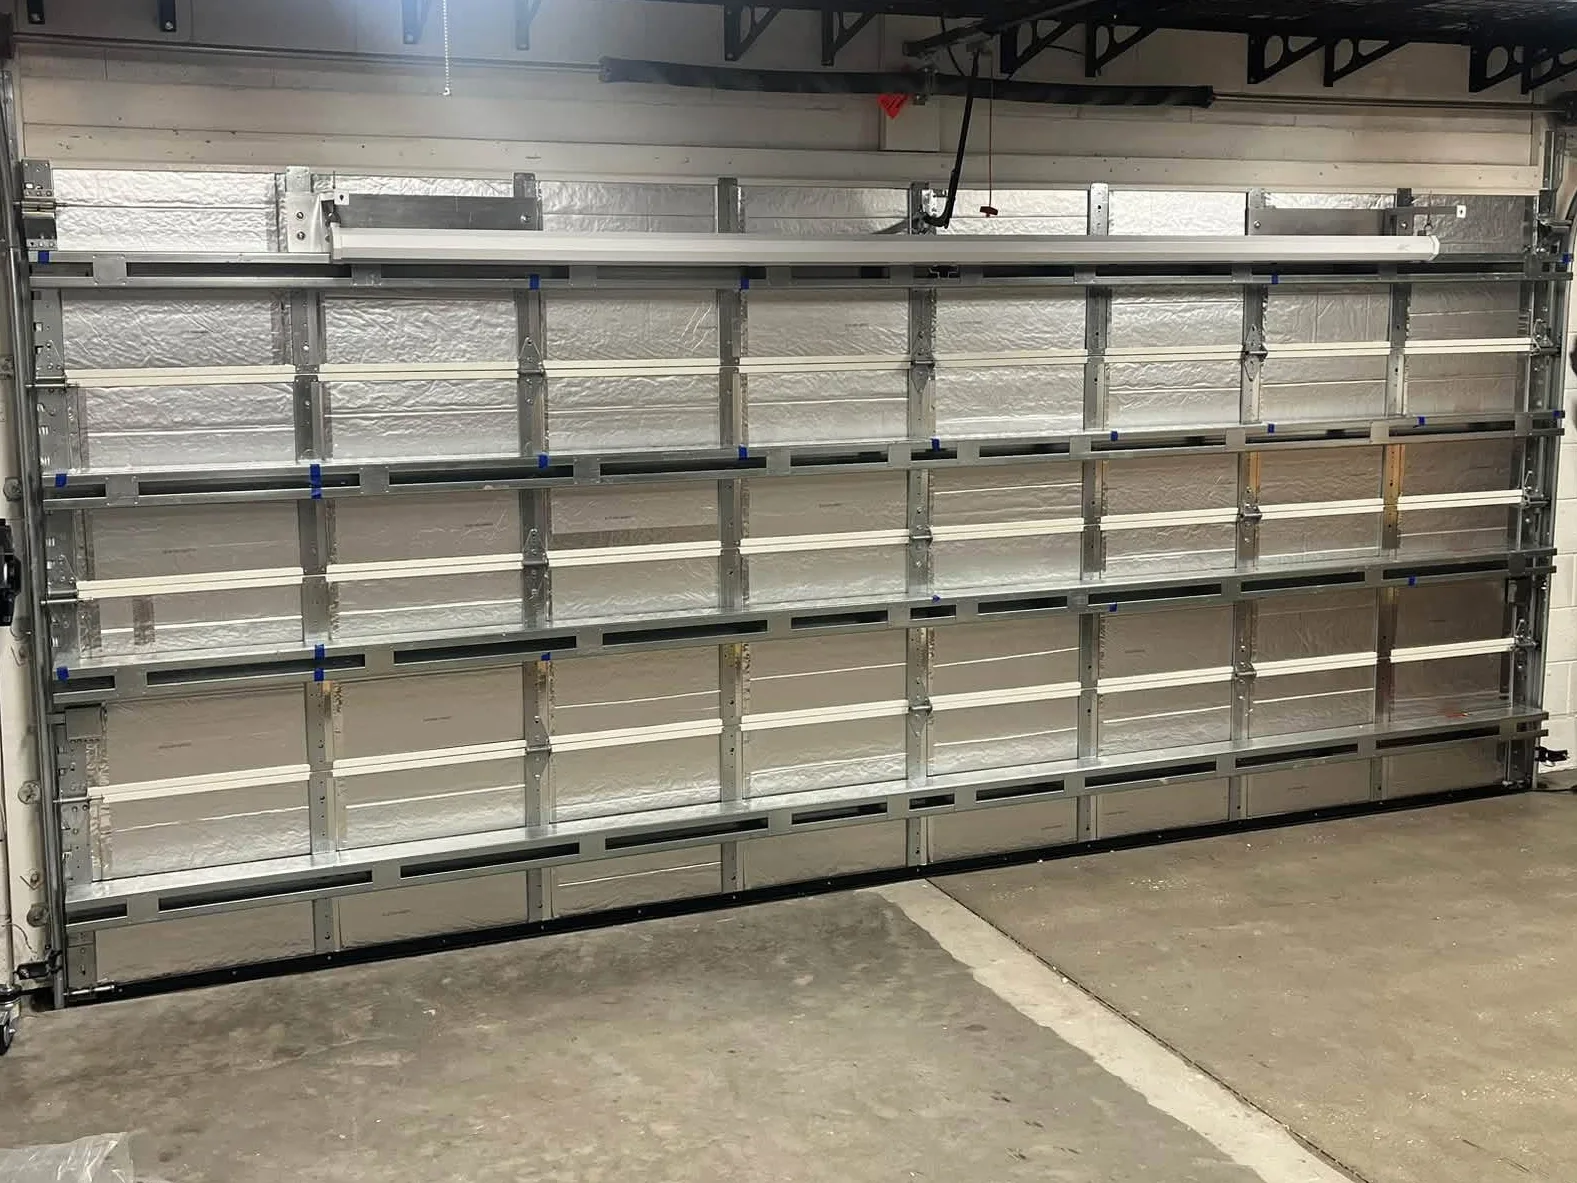
- The counterbalance is set Springs fitted and wound to the door’s real weight, cables on the drums, and the door balanced.
- The opener Mounted or reconnected, limits and force set, controls paired.
- Testing and clean-up Auto-reverse tested, photo-eyes aligned, springs and cables inspected, door balanced — the safety check we do on every visit — and the old door taken away.
The walkthrough, and what you keep
Before the truck leaves, somebody should show you the release cord and when it is safe to use it, how to run the safety reverse test yourself, which controls are paired, and what the door wants in the way of maintenance.
You keep the written estimate, the invoice that matches it, and the warranty: five years on parts and labor, every repair and every install. Register the door with its maker if it asks you to — that registration is the homeowner’s, and Raynor for one publishes it as such.
If anything about the door is not right a week later, that is what the warranty is for, and the number you call is the same number you called at the start.
Before the visit
How to prepare for garage door installation day
Park the cars elsewhere and move bins, bikes, tools and storage out of the way of the opening, the tracks and the opener. Clopay and Wayne Dalton both ask homeowners for a clear floor with room to work.
Plan for an open garage. Clopay’s installation instructions warn that it is open and unsecured during the work and cannot be used until the tracks are installed. Keep children and pets out: DASMA’s checklist starts with keeping people clear of the opening while a door moves.
Two approvals are not ours to give. If your HOA reviews exterior changes, that review belongs to its architectural review authority, which Texas Property Code section 209.00505 defines as the body that reviews and approves improvements. Where the section applies (associations of more than 40 lots, and not while the developer still controls the review), a denial must come in writing, with reasons, and can be appealed to the board. Permits are your city’s call: Coppell’s Building Inspections division, for one, requires permits for construction and lists its permit types online. Ask both before you pick a color.
At the opening
What has to be in place at the opening for the door to work
Power comes first. DASMA’s inspection checklist asks for a self-grounding or GFCI outlet within reach of the opener’s cord and says extension cords are not permitted. If there is no outlet where the opener will hang, DASMA and LiftMaster both point to an electrician; find out before the day.
Then the framing. Clopay’s instructions call for plumb jambs, a level header, damaged wood replaced, brackets fixed to wood rather than drywall, and about 3 inches of extra headroom at the center when an opener goes on. DASMA tells installers to inspect the jambs, header and ceiling for mounting strength every time, particularly in a retrofit and behind drywall.
Last, the floor. LiftMaster’s manual says any gap between the floor and the bottom of the door must not exceed a quarter inch, or the safety reversal may not work properly. DASMA says the door must sit level to the floor for the same reason. A dip in the slab at the threshold is worth raising at the estimate.
The last test
What the final test covers on a new garage door and opener
Federal rules for residential openers, 16 CFR 1211, require the installation instructions to say the door must reverse when it contacts a 1½ inch high object, or a 2x4 laid flat, on the floor. DASMA advises testing automatic reverse whenever a door, opener or hardware is installed, serviced or repaired, and documenting it. Openers are tested to UL 325, as federal law requires.
Reversal is one item of several. DASMA’s checklist also looks for photo-eyes with the beam no higher than 6 inches above the floor, a red release handle no more than 6 feet up, a wall control at least 5 feet up, and a door that stays put when lifted partway. The safety check we do on every visit covers four: auto-reverse tested, photo-eyes aligned, springs and cables inspected, door balanced.
If the door stops on the block instead of reversing, the answer starts in the opener’s travel and force settings, and LiftMaster’s manuals call for a retest after every adjustment. Where force is set by hand, DASMA says to use the minimum needed to run the door reliably. DASMA calls this an on-site test that cannot prove UL compliance, and advises repeating it every month.
The timeline
How long garage door installation takes
That is really two questions, and mixing them up is why installations feel late: how long the visit takes, and how long the door takes to arrive. An honest proposal carries two dates, not one: when the product is expected, and when the installation visit is scheduled. The project is the lead time plus the visit, and for a made-to-order door the lead time is the larger number by some distance.
Stock doors move quickly. Anything made to order — a particular construction, color, glazing or wind rating — has manufacturer lead time in front of it, and that is usually the part that decides when your garage actually changes. To keep it on schedule, choose the size, color and windows early, since those decide whether a door is in stock or made to order.
Some makers do publish a general figure. Clopay’s page on its installation service says most standard installations are completed in half a day to a full day, and that complex projects and custom doors may take longer. Read that as one maker’s general statement about its own doors, not a promise about your opening or ours. Clopay’s instructions for a homeowner doing the work allow longer, and count taking out the old door separately.
What stretches the visit is framing that needs correcting, track that needs replacing, a counterbalance specified to a heavier door, an opener that needs work, and taking the old door away. Clopay’s instructions say not to install a door in windy weather, because the sections can be blown down. Wayne Dalton’s own service centers list weather among the factors that affect installation time, alongside damaged framing, uneven flooring and opener wiring that has to be updated.
Low headroom changes the parts, not just the labor: Clopay says it may need special instructions and additional hardware. Permits and HOA approval, where they apply, are set by your city and your association, not by the door company or the maker, so their timing is outside an installer’s control.
We will not publish a number of hours on a page for a door nobody has seen. What we will do is put three things on the estimate before anything is ordered: the expected product lead time, the installation visit and what it covers, and the scope — removal, track work, spring specification, opener adjustment. That is more useful than a figure, because it is the thing you can hold us to.
The old door
How the old door’s springs change what the visit involves
Springs decide how the old door comes out. Clopay’s instructions give different steps for extension springs, EZ-Set springs and standard torsion springs, so the first job is to identify which the door has. For standard torsion springs, Clopay tells a homeowner not to remove the door or the springs, and its FAQ says unwinding them takes specific tools and training.
Tension also sits where it cannot be seen. Amarr marks fasteners on parts under extreme tension in red and says only a trained technician should touch them, and Clopay warns that the bottom corner brackets are under great tension and must not be loosened except as its instructions direct. DASMA adds that if a spring is broken, the door should not be operated until it is replaced.
Once the tension is out, the door is heavy and awkward. Clopay tells the person installing to use two or more helpers when lowering a door during spring removal, Amarr recommends a team of two, and Clopay says never to reuse old track or hardware. Each of those steps is part of the visit, and none can be sized until the door has been seen.
The opener
How an opener is matched to the door, and what that involves
An opener is fitted to a door that already works. LiftMaster’s manual allows it only on a properly balanced door, with locks disabled and pull ropes removed, and Clopay requires the top section to be reinforced so the arm has something solid to pull on. LiftMaster adds that fiberglass, aluminum and lightweight steel doors need that reinforcement before the door bracket goes on.
Then the match is about door type and space. LiftMaster’s wall-mount manual limits that opener to sectional doors with torsion springs, not doors with extension springs or low-headroom tracks, and its manual for belt-drive and chain-drive openers limits timer-to-close to sectional doors. Clopay adds that an automatic opener needs headroom and backroom of its own on top of the door’s.
After that come the travel and force settings and the reverse test, repeated after any adjustment.
Free Estimates · a person answers 24/7
5-Year Warranty on All Parts & Labor.Five years on parts and labor, every repair and every install. Call, or send the form and a person calls you back.
Sources
- DASMA — Technical Data Sheets (Door & Access Systems Manufacturers Association)
- Clopay — residential garage door service and support
- Raynor — garage door safety and care
- Amarr — residential garage door FAQs
- DASMA — TDS 167, residential sectional door and operator checklist
- DASMA — TDS 369, questions about automated residential garage door systems
- DASMA — TDS 351, federal and state residential operator legislation, for dealers and installers
- Consumer Product Safety Commission — 16 CFR Part 1211, automatic residential garage door operators (eCFR)
- DASMA — TDS 164, drywall surfaces and mounting garage door hardware
- Clopay — installation instructions, residential sectional insulated steel doors
- Clopay — How to install a Clopay garage door
- Clopay — Garage door installation (service and FAQ)
- Clopay — Garage door FAQ
- Amarr — residential conventional hardware installation instructions
- LiftMaster — owner’s manual, belt and chain drive Wi-Fi openers (8550W and related models)
- LiftMaster — model 8500W wall-mount opener installation manual
- Wayne Dalton — Garage door installation expectations
- City of Coppell — Building permits
- Texas Property Code, section 209.00505 — architectural review authority
- UL Standards & Engagement — UL 325, door, drapery, gate, louver and window operators
- Wayne Dalton Sales & Service — How long does it take to replace a garage door?
Sources 1 to 4 read ; sources 5 to 21 read . Linked so you can check them rather than take our word for it.
Written from the manufacturers’ own published guidance — every source is linked above.
Related reading
Where this goes next.
What you can count on
- Upfront pricing. The price is on the estimate you approve before work starts, and the invoice matches it.
Straight answers
Questions people ask about this.
What happens during a garage door installation?
How long does it take?
Do I need to be home?
Do you take the old door away?
Does a new garage door opener need a power outlet nearby?
Do I need a permit or HOA approval to replace a garage door?
Can I release the tension on the old door’s springs myself?
Can I keep my old opener when the new door goes in?
What happens if the new opener fails the reverse test?
Describe it however makes sense to you
Read enough? Tell us about the door.
However you describe it is enough — no part names needed. The visit and the written estimate cost you nothing, and nothing starts until you approve the number.
- No model number needed. The opening and the house are enough to start.
- The written estimate is free. Nothing owed if you pass.
- Nothing is ordered until you approve the number.
Calls Answered 24/7
One call, and the door problem becomes ours.
A person answers 24/7. We look at the door with you first, and the written estimate comes before the work.